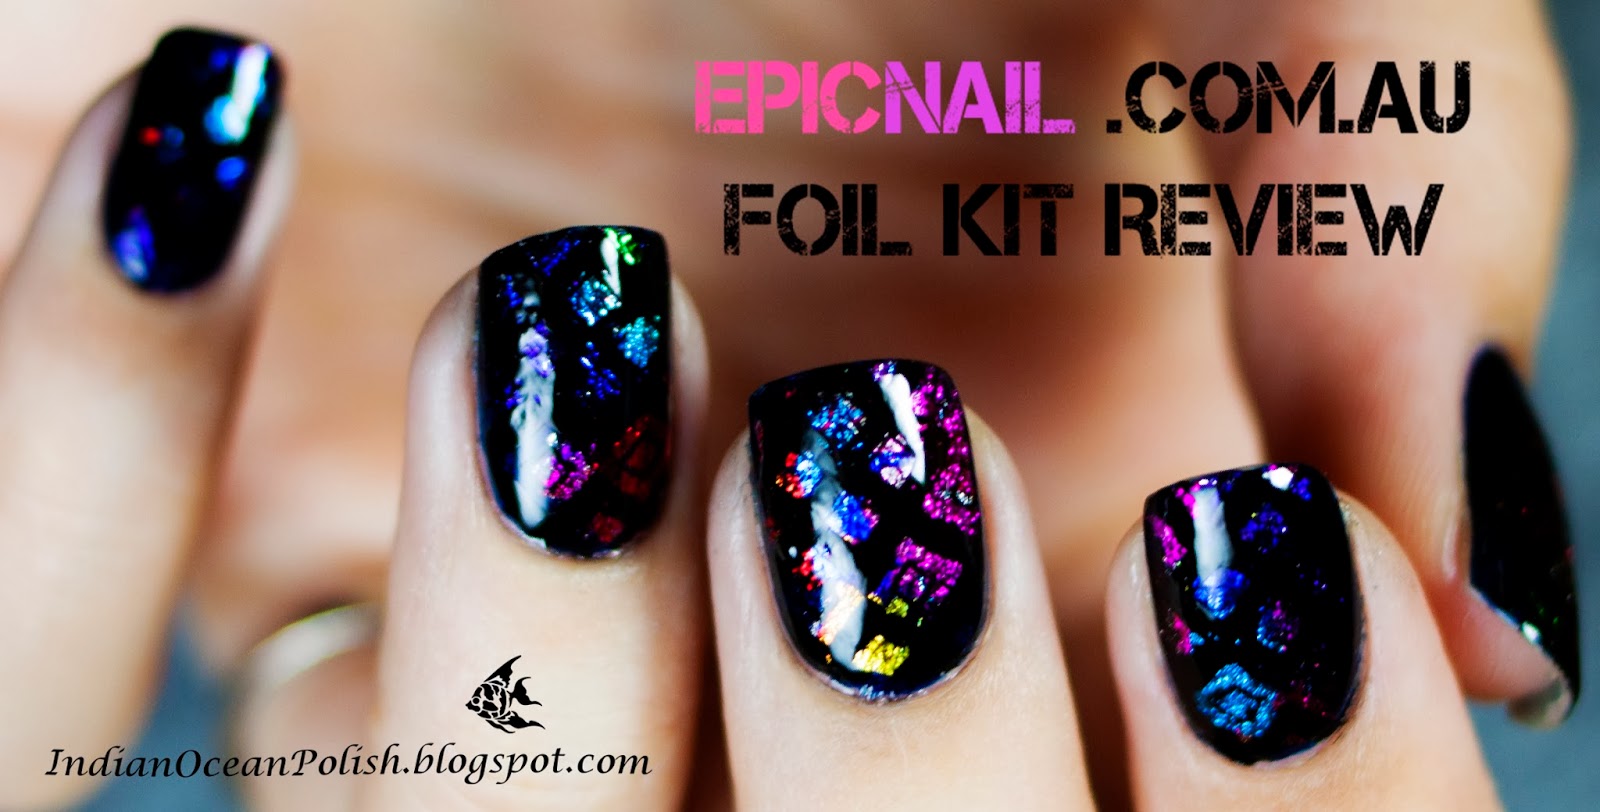
I have a huge post for you today! I was recently contacted by EpicNail.com.au to give an honest review of their new nail foil kits. These kits contain 6 rolls of nail foil, a bottle of nail foil adhesive, wooden cuticle pushers and instructions. There is also an ultimate kit which has 36 rolls of foil, 2 bottles of glue and cuticle sticks. The foils and glue can also be purchased separately.
The 6 foil kits retail for $73.98 AUD, however they are currently on sale for 50% off.
Epic Nail is an Australian owned and operated business that prides itself on its high quality products and excellent customer service. They offer same day dispatch to Australia and New Zealand on all orders, and a 30 day money back guarantee on all products.
Out of the four available kits I chose the 'essentials' kit' as it seemed to have a bit of everything (In the jungle, I heart you, nautical, pipe dream, winter is coming, all laced up.....see chart below) . In addition to the kit, they also sent me two extra foils- marble and floral delight as I saw them on the colour chart and really wanted to try them too.

The kit arrived within 2 days of being sent, packaged in a stylish white box. Each foil comes as a roll in it's own jar, and there is about 1 meter per roll at a width of 3.8cm. Apparently each kit has enough foil for at least 60 manicures (ie. 10 per roll) which seems about right as I used 5cm per hand approximately.
I was going to make a tutorial of how to use nail foil transfers, but there is a great one on their website already which I have copied below :)
Just a note- they talk about using the foils over shellac, but they can be used over normal polish or even bare nails.
I was going to make a tutorial of how to use nail foil transfers, but there is a great one on their website already which I have copied below :)
Just a note- they talk about using the foils over shellac, but they can be used over normal polish or even bare nails.

The first few foils I tried didn't transfer completely. I didn't wait long enough for the glue to dry- you really need to wait for it to go completely clear (and then another 10 seconds to be sure!). Once I figured this out I had very few problems. Some were easier to use than other- the In the Jungle foil practically jumped onto my nails, and the Nautical stripes were a little tricky......anyway- I'll go through them one by one :)
First up we have 'Winter is coming'- is that a reference to Game of Thrones? This is a silver holographic foil with a subtle diamond pattern. This is where I learnt my second lesson in foil application. Quick dry top coat is a no no! In the picture below I used seche vite on all nails but the thumb before I realized it was ruining the finish! This phenomenon seemed to be most obvious with this foil as I used the same top coat with the rest and didn't seem to have a problem. This foil was very easy to apply- I did it over bare nails which meant this look was achieved in about 5 minutes! So quick and easy!!!
Oh and lesson 3: I found that pulling the foils off quickly rather than slowly gave me a much easier application.

And I re-did the 'Winter is coming' without top coat so you could see the full holographic effect. I don't think you can achieve anything this shiny with nail polish. It truly is stunning. I felt quite futuristic!
Oh and did I mention?- there is practically no clean-up as the foil only applies where you put the glue!

I decided to try stamping over the foils too. (If you are unsure on what nail stamping is visit my tutorial and guide to stamping here). I used a stamp from the cheeky happy plate using konad stamping polish in black. As you can see it worked beautifully and I really like the look of black stamping over the holographic shiny shiny silver!

Next up is 'I heart you', a hot pink foil with holo silver hearts. This one applied relatively easily, however I did have trouble getting it all the way to the edges and had to re-apply (ie add more glue and line up the foil over the top to re-cover the bald spots). I think it's quite pretty, but definitely not my favorite.

And here is my equal top favorite..... 'Pipe dream'. This is what the foil looks like- which isn't obvious from the mani. It's lots of blobs and gradients with many different metallic colours.

Here it is applied directly to the nail- pretty cool huh..... but keep reading as I tried a different application technique as well.

For this manicure I first painted my nails with a dark metallic blue- Essie Midnight Cami. After it had dried I put small dots of foil glue onto my nails and applied as before- this revealed small spots of foil- I then repeated the process until most of the nail was covered (2 or 3 applications).
I looooved how this looked! It looked so deep, shiny and colourful!

I thought it might look cool to stamp these with a black as well. I used another design from the Cheeky happy plate. So mysterious!

And after one of my favorites- the foil I had the most trouble with application, 'Nautical'. Well really the only one that didn't apply easily. This foil was different from the others as it was clear, with the red, silver, blue and white lines. Therefore you get to choose what color to put underneath and have show through. I chose a grey polish- Misa "Grey matters'. As you can see I had trouble getting the foil to apply all the way to the edges, and some of the lines have bits missing. I think the manicure still worked out all right though- I'm just a perfectionist!

Next is 'all laced up'. I applied it over a silver polish on some nails, and bare nails on other- you can't really tell which is which as it applied very easily without bald patches. This is a black lace design with holographic silver background. I'm a fan of this design! I think it would be nice for a special night out.

Ok and the last foil in the "essentials' kit before I move onto the two extras that I picked out.
This is 'in the jungle' and as I said earlier was super easy to apply. If you are trying foils for the first time I recommend starting with this one :)
As you can see the background is a holo silver which flashes with rainbows in the light :)

Ok, now that concludes the essentials kit. These next two foils were kindly added as extras for me. You can purchase all foils separately for 4.99$ each (On special currently down from $9.99).
This was actually the first foil that I tried out so the application isn't perfect- but it wasn't troublesome at all, so I think when I try again it will be an easy application. This, like 'nautical' is a foil designed to be put over a coloured polish as it doesn't cover the whole nail and has clear patches. You can hold the foil up against different bottles of polishes to decide which colour will match!
I'm a big fan of how this floral foil looked. The only issue will be that a lot of the foil is clear space, or just leaves, so if you want each nail to have a flower you may not get the total 10 manicures out of the roll.
I applied over China Glaze 'For Audrey'

Ok and last, but definitely not least (in fact my other favorite) is 'Marble'. This is a beautiful subtle foil that looks like a marble surface, or even mother of pearl. Its not as shiny as the others, but I found it absolutely beautiful with the marbled mint, blues and pinks.
For the feature nail I cut the foil into a heart and stuck that on over OPI Thanks a Windmillion. I put the whole foil heart on- ie I didn't transfer it off the plastic.

So that's all of them! All in all I found these nail foils to be fun, quick and easy. If you love nail art, but don't have time these are perfect. Also I don't think you can beat foils for shine. They weren't completely full proof however. Make sure you follow the instructions and you shouldn't have too many problems, but some are definitely easier to apply than others. The foil application glue worked well, but I wish there was more... I don't think the one bottle will last for 60 manicures. It can be purchased separately on the website though.
So what do you think of this foil kit? Have you tried foils before or would you like to try them?
You can purchase the kits and foils from http://www.epicnail.com.au/shop/nail-transfer-foil/nail-art-transfer-foil-colours.
As a special offer, you can get free standard shipping on orders over
$30 until the 31st December 2013 by using the discount code 'BLOGOCEAN'.
This products were provided to me free of charge for review and my honest opinion by EpicNail.com.au. No editorial input from EpicNail was made.


