Showing posts with label water colour. Show all posts

Monday, 30 September 2013

Lilly Pulitzer Floral Nails


We are technically almost a whole month into Spring here in Perth, but it's been raining almost constantly with storms and such. On Saturday however, the sun was out and I felt inspired to do a Springtime floral manicure.
 I did a quick hunt through my Pinterest floral inspiration board and found a lovely Lilly Pulitzer floral print which I will post down the bottom of this page.


For these nails I first painted my nails with OPI "Funny Bunny'. This is a white jelly polish which builds to opaque in 2-3 coats. For me, at 2 coats I could still faintly see the nail line, but it looked.....nice.

In fact, I think I might prefer it to opaque creme white polish (I use OPI Alpine snow). It's not as stark white- it just looks so clean and jelly-ish!
Here's a pic of it before I painted the flowers.


Anyway, back to the flowers....
Over the white base I used Essie "A Crewed Interest", Revlon " Lilac Pastelle" and a little bit of China Glaze "For Audrey" to paint a messy base for the flowers (I kind of painted roses). I added a little bit of acetone to the brush when I did this to thin them down and make them more like watercolours.

Next I used a short striping brush to paint the flowers in a darker pink (This was a custom mix of a creme white polish and Seche Vite "Rendezvous" thinned with nail polish thinner).
They weren't too hard to paint to be honest as they are meant to look a bit messy.... which is good for me!
I started in the middle and worked my way to the outer petals. 

I then used a short spotter brush to paint the flower centres in Misa "Office Polish-tics".

The picture below was painted with my left (non dominant) hand. Not as good as the other hand, but I'm improving- practice makes perfect!


Oh and last but not least I filled in the background with some more acetone thinned China Glaze "For Audrey". (When I say acetone thinned, I mean I dipped the brush first in acetone, and second into my polish).


I really really love this manicure. It looks even better in real life when your not looking so close up!
I keep trying to pick my favorite nail- It's a toss up between the pointer finger on my left hand and the thumb on the same hand! (above)

This picture above is probably the best one, but I took it a day after I had finished the manicure, and the pinky nail seems to be all scratched. I really need to find a thin fast drying top coat for re-freshers before taking pictures. All I have is seche vite which can cause shrinkage when used on dry nails (and is also very thick). Does anyone have any suggestions?


And here is the print I used as inspiration.... or can I just say I copied it?

http://blog.lillypulitzer.com/2013/02/07/a-print-worth-celebrating-lucky-charms/


Thanks for reading :)

Chanfie
xx

Saturday, 25 May 2013

Simple Watercolour Flower Nail Art


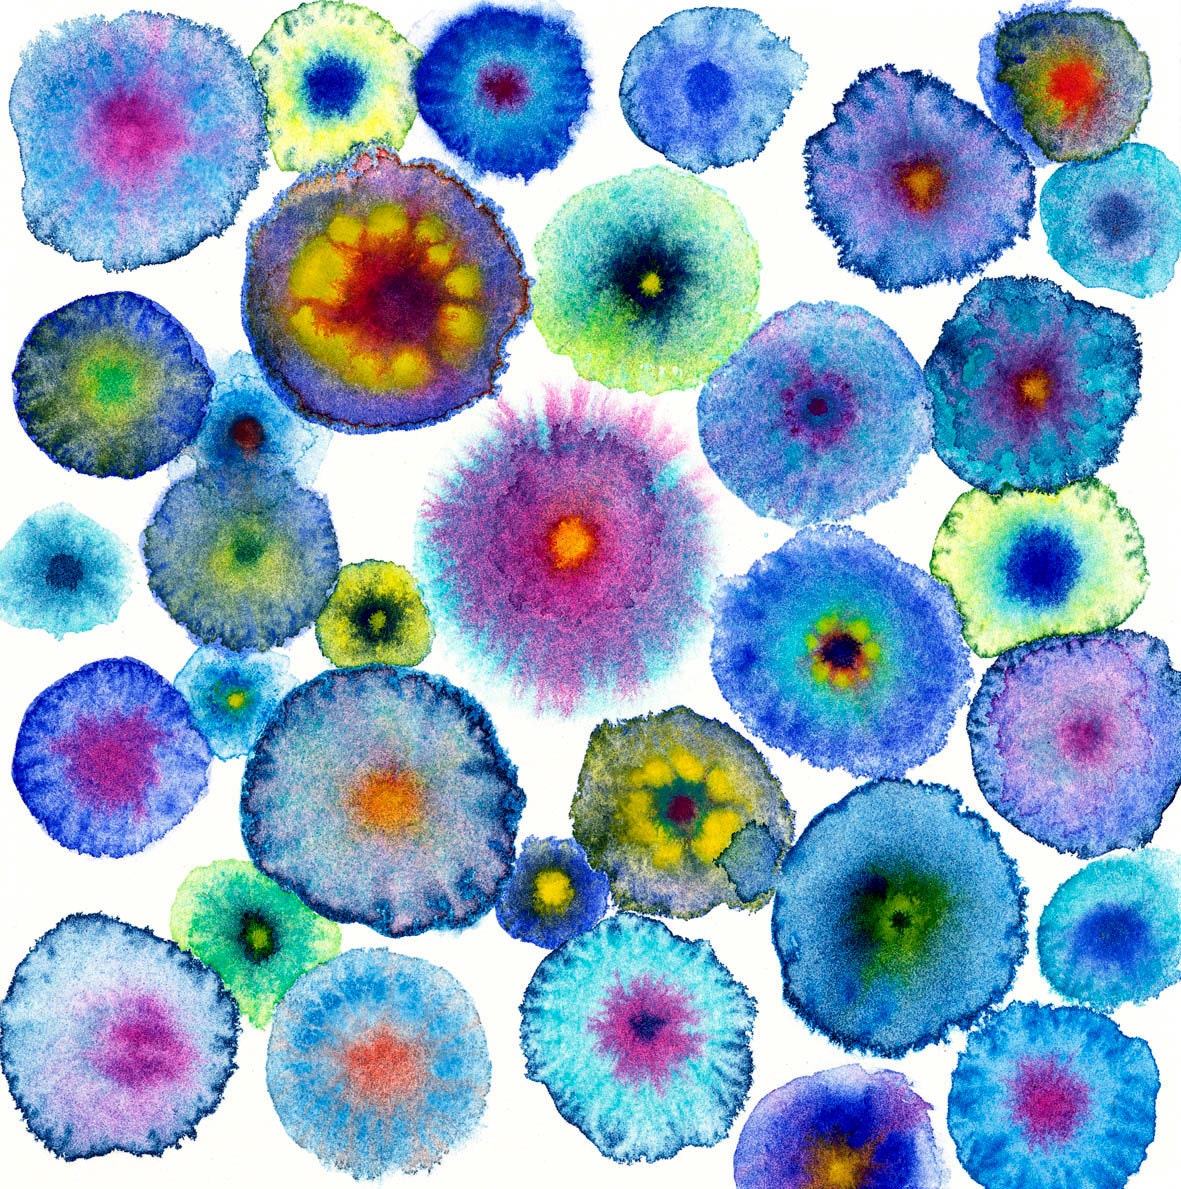
http://www.etsy.com/listing/83803587/large-circles-blue-abstract-canvas-print?ref=correlated_featuredI've been seeing a lot of pretty floral nail art on reddit lately (probably as it's Spring in the northern hemisphere) and wanted to give it a try myself. As it was my first time free-handing flowers I looked far and wide for a uncomplicated floral print/painting to inspire me.  I found this beautiful watercolour floral painting that looked adaptable to nail art on Etsy by Ilse Bernthal called "Blooms 7 blue". Pretty huh? Clicking the image should take you to the store.

To get a water colour look I first spotted the polishes I wanted onto a plastic dish, and filled a little dappen dish with pure acetone. I then dipped a small paint brush in the acetone (natural hair as synthetic brushes can be dissolved by acetone), then into the polish and swirled the brush on the dish to get a 'watery' consistency (adding more polish or acetone depending on if I needed more pigment or to dilute respectively). I then painted  swirly, circle-ish shapes that kind of look like flowers. Most of the flowers have 2 different polish colours (the second was used minimally around the outside of the circle/flower) and then an orange dot in the middle. I'm incredibly happy with how it turned out- I cant stop looking at my nails...I do wish I used a pastel blue as the background though.

The polishes used were:
Background: OPI Alpine Snow
Flower colours:-
Magenta: Sally Hansen Xtreme wear "Brick Wall"
Purple: Sally Hansen Xtreme wear "Purple Potion"
Dark Blue: Sally Hansen Xtreme wear "Blue it"
Periwinkle blue: Sally Hansen Xtreme wear "Pacific Blue"
Turquoise: Sally Hansen Xtreme wear "The Real Teal"
Orange: Sally Hansen Xtreme wear "Sun Kissed"


These will hopefully be the last cell phone pictures I use! I ordered a proper camera today- hoorah!! This next picture is especially blurry, but the sun was going down and its the best picture I got of the right hand =(


I took another picture with better lighting a few days later :)


Thanks for stopping by :)

Wednesday, 15 May 2013

A collection of my past nail art!


So here goes... my first post. I decided to dump a pile of my older pictures to give this blog some body. As you can see I absolutely love nail stamping! I have a rather large stack of stamping plates including lots from konad, Magno nails, Dashica Beauty Shop (Big sdp plates), some from Bundle Monster and Gals (Which I think is part of Cheeky). I also really enjoy trying new techniques, I'm currently dying to try a water spotted manicure!
 I apologise as some of the pictures are quite grainy or slightly blurred - when I took them I never imagined I'd one day be posting them on a blog (I'm also cringing at my sad cuticles in some of these pictures! I actually only recently started using cuticle oil regularly)


Essie Jazz stamped with Sally Hansen Insta Dry in Sonic Boom. Design is from Big-SdP-A. The picture is taken from Bunker Bay, Naturaliste, Western Australia.


This took forever. I used a sally hansen salon manicure polish called Jaded and it was very thick but un-pigmented.... meaning it took years to dry and every time I did something I kept smooshing it. I was on weekend holiday and it was the only colour I brought with me (BIG mistake haha).  Once dried (the next morning) I stamped with Essie Penny Talk (Image from A53).


OPI Black Onyx stamped with China Glaze Devotion (And vice versa on the ring finger but with Konad special back).  Design from Big Sdp-O
OPI Berlin there done that stamped with Sally Hansen Xtreme Wear White on. I then used a dotting tool to add the different colored spots. There is China Glaze for Audrey, China Glaze Peachy Keen and A Revlon polish Ill have to look up. Stamp is from Big SDP A


The gradient is made up of OPI Dulce De Leche, Sally hansen xtreme wear grey area (more of a taupe than grey) and Sally Hansen Xtreme wear Flirt. A design from XL-C is stamped over the top in Essie- Penny Talk


This is actually one of my first attempts at nail art from about a year and a half ago! The flower is from magno nails XL-E and is stamped with konad red. The black rhinestone is a cheapy of ebay.
Opi Thanks a windmillion, OPI fly (I think) and OPI dating a royal stamped with China Glaze Passion with a design from XL-B. Wish I had a less blurry picture of this one =(

Ill have to do a big search through my polish stash to get the names of all the polishes for this one.It was done by painting the nails white, then using a dotting tool and going nuts with lots of colours.

China Glaze peachy keen and OPI Elephantastic Pink. Used scotch tape and a striping brush to create the diagonal division. Stamp is from big sdp-I.

Opi A-Taupe The Space Needle stamped with China Glaze Delight. The dots are CG for Audrey and OPI Thanks a Windmillion. Design from big sdP-I

Opi ski teal we drop stamped with China Glaze for Audrey. The stamp was Plate A48. Amazing what some natural light can do for my photography skills!

This one is Opi Black Onyx, stamped with both Essie penny talk and China Glaze Magical- unfortunately my cell phone picture didn't really pick up the shifting colours. The design is from XL-N (from magno nails)
The marbling effect was done by spotting different colours onto white and swirling the wet polish with an acetone soaked paintbrush. The nail stamp is from magno nails :XL-N. 
Claw hand! I noticed this knocking about on the Nails Magazine Pinterest "Best of  Nail Art Gallery" along with a few others. I was kind of flattered, but also sad- they didn't have my blog watermark so it's kind of anonymous =(
Oh well lesson learnt. For this I used OPI Stranger tides (I think) and stamped with a gold stamping polish from magno nails and konad dark brown. Both of the images are from XL-D :)

This gradient was made using OPI skull and glossbones, China Glaze For Audrey and OPI Fly. The glitter is a homemade polish.
This one is soooo long ago I cant remember what polishes I used sorry. I do know however that the glitter is Sally Hansen Xtreme wear Disco Ball.

This one is OPI road house blues stamped with a design from XL-A with konad special white.